Print-Ready Files for Custom T-Shirts: Format & DPI
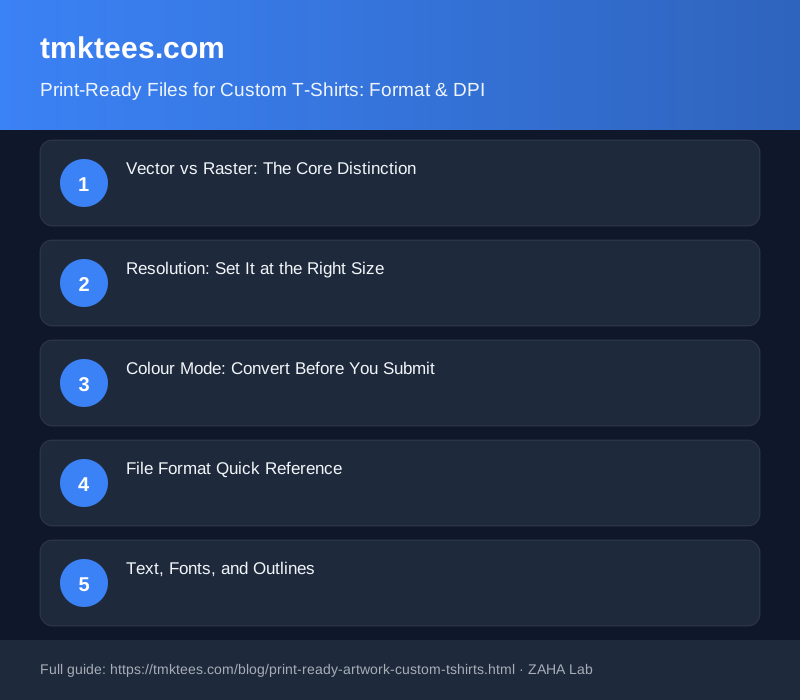
The most common reason a custom t-shirt order gets delayed is not the design. It is the file. A graphic that looks sharp on screen can arrive at the printer pixelated, colour-shifted, or boxed inside an unwanted white rectangle.
For custom t-shirt printing, submit a vector file (AI, EPS, or PDF) whenever you can. If the artwork includes photography or complex gradients, supply a raster file at 300 DPI at actual print size, in CMYK colour mode. Those two rules alone handle most pre-press rejections.
Vector vs Raster: The Core Distinction
Vector files use mathematical paths to define shapes. Scale them from a 3 cm thumbnail to a 90 cm banner print and nothing degrades. Logos, lettering, and bold graphics belong in vector format.
Raster files store pixels. Stretch a 1,000-pixel-wide file to cover a full back print and you get a blurry result. Photographs must be raster, and that is fine. The resolution just has to be right from the start. You cannot recover detail by increasing the canvas size after the fact.
Planning to test artwork placement before committing to a full order? Gildan Heavy Cotton Adult T-Shirts are a cost-effective blank for practice runs before you move onto premium stock.
Resolution: Set It at the Right Size
The 300 DPI rule only works if your canvas matches the actual print dimensions. A standard left-chest logo runs roughly 9-10 cm wide. A full chest graphic goes up to around 26-28 cm. A full back print can reach 35 cm wide. Set those dimensions in your software first, then design within them at 300 DPI.
Increasing the canvas size or resampling upwards after designing at 72 DPI does not add resolution. The pixels are already there. All upsampling does is interpolate new ones, which looks soft under a print lens.
Colour Mode: Convert Before You Submit
Screens produce colour using light (RGB). Presses use ink (CMYK). An RGB file looks vivid on a monitor and noticeably flatter when printed because CMYK inks cannot reproduce every colour in the RGB gamut. Convert to CMYK in Illustrator or Photoshop and check the preview for shifts before exporting. Bright electric blues and neon greens are the most likely to change.
Some DTG and DTF studios now accept RGB files and convert in-house. Screen printing studios almost always require CMYK separations or Pantone references. Ask before you submit.
When testing a hoodie design before a large run, the Fruit of the Loom Classic Hooded Sweatshirt is a widely available and affordable blank for checking how a colour-converted graphic actually reads on fabric.
File Format Quick Reference
| Format | Supports Vector | For Printing |
|---|---|---|
| .AI (Illustrator) | Yes | First choice |
| .EPS | Yes | Preferred |
| .PDF (vector export) | Yes | Preferred |
| .PNG (300 DPI+) | No | Acceptable |
| .PSD (flattened, 300 DPI) | No | Acceptable |
| .JPG | No | Avoid |
Text, Fonts, and Outlines
Convert all text to outlines before saving the final file. If a print studio does not have your typeface installed, text either substitutes a default font or disappears. In Illustrator: Select All, then Type > Create Outlines. In Photoshop: rasterise each text layer individually. Once outlines are applied, check that no letters have merged or lost spacing.
Transparent Backgrounds
Use PNG or EPS, not JPEG, for any design that sits directly on the fabric colour. JPEG bakes a white background into every export. That white box shows clearly on a black or navy shirt. If you are printing white ink on a dark garment, ask your studio whether they need a separate white ink layer, or whether they build the under-base themselves from your artwork file.
For premium streetwear blanks that hold DTG and DTF ink well, the Bella+Canvas 3001 Unisex Jersey T-Shirt is a popular choice among independent label founders for its tight ring-spun weave and consistent ink absorption.
FAQ
What DPI should I use for custom t-shirt printing?
300 DPI at the actual printed size. If your design will cover a 28 cm wide area, the file should be 28 cm wide at 300 DPI in your image editor, not scaled up afterwards.
Can I send a JPEG for custom t-shirt printing?
You can, but it is not ideal. JPEG compression degrades edge quality and the format does not support transparency. A high-quality PNG at 300 DPI is a better option when a vector file is not available.
Why do my design colours look different when printed?
RGB files built for screens contain colours that CMYK inks cannot replicate. Convert to CMYK in Illustrator or Photoshop before submitting, then inspect the preview for unexpected shifts. Electric blues, neons, and very saturated reds are the most common problem colours.
Do I need to convert fonts to outlines?
Yes, always. If the studio does not have your typeface installed, text will either substitute a different font or disappear entirely from the output. Converting to outlines before export is a two-second step that prevents that problem completely.
What file size should my artwork be for a full back print?
A full back print typically runs to around 35 cm wide by 42 cm tall. At 300 DPI, that works out to roughly 4,134 x 4,961 pixels. Build at that size from the start rather than scaling up a smaller file later.